In this post, we’ll look at Azure Notebooks; a completely free hosted Jupyter notebooks service from Azure.
Jupyter has been quite popular lately among data science professionals and is becoming a preferred choice for running python code interactively to perform data analytics. Jupyter combines your code, documentation, data, any data visualization graphics in a single place. It’s an open-source project, based on python which allows you to run your data experiments and many more similar programs interactively within your browser.
You can install and run Jupyter from your local machines easily, Azure notebooks are just an easy way to get started with your data science experiments without any installations. In simple words, I’d call Azure Notebooks as jupyter as a service.
While Jupyter netbooks, in general, supports a wide variety of programming languages, Azure notebooks currently only support python, F# and R.
The objective of this post is to introduce Azure notebooks, which we will be using to try out AI services offered by Azure in upcoming posts.
With that, Let’s get started. We’ll first create a new Azure Notebook.
- Sign in to the Azure Notebooks portal, https://notebooks.azure.com using your Microsoft Account(previously known as live id) or using your work account(O365 account). You will be asked to set a unique user id upon the first login.
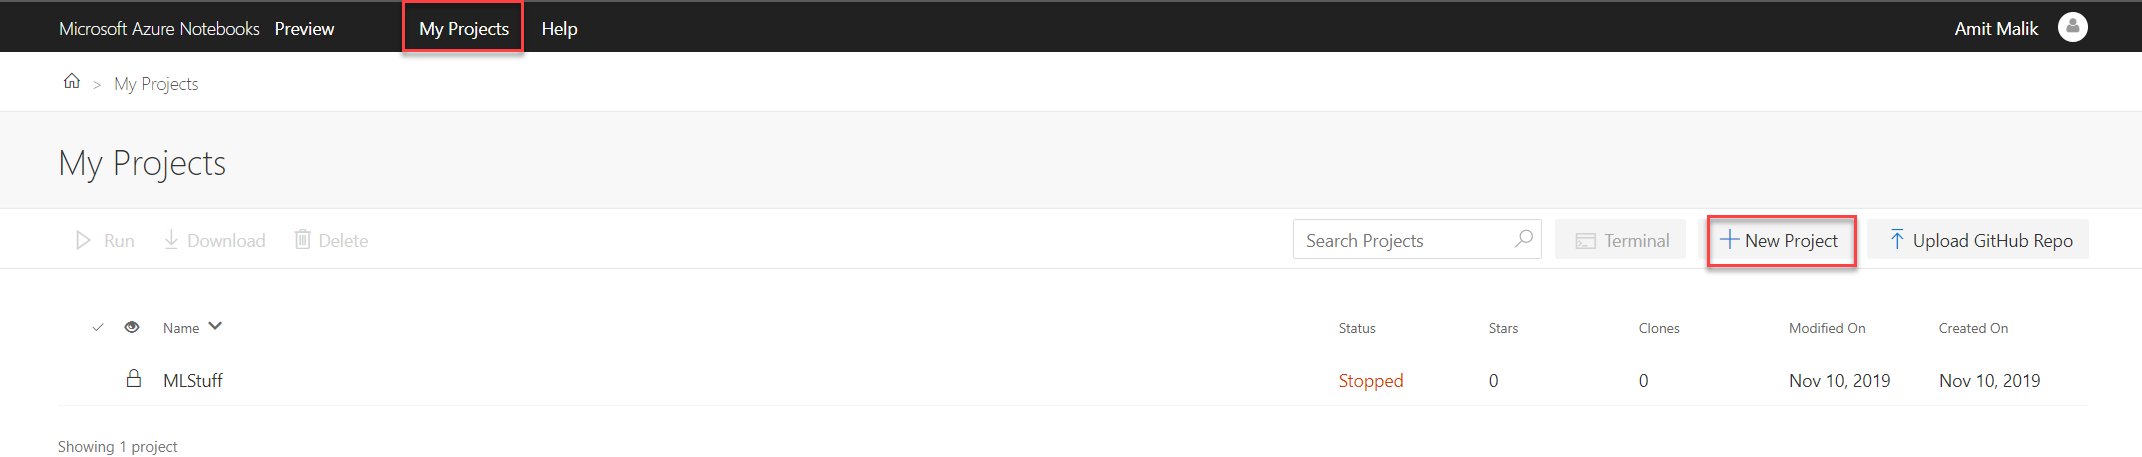
- Click on Projects & + New Project. A project is a single workspace hosting your notebooks.
- Give the project a name, an ID and public access if you wish to. You can also choose to start it with a README file.
- Open the newly created project, you are now in your project workspace. Notice that you have got an option to run this project in free compute provided by Azure notebooks or your specific computing environment.
- Now, let’s create a new notebook by clicking on +New > Notebook.
- Give it a name and choose your programming language/version. We’ll do the latest Python 3.6 for now.
- You should now see your newly created notebook file in your project workspace. Open it to start doing the thing it’s meant for; writing and running code 🙂
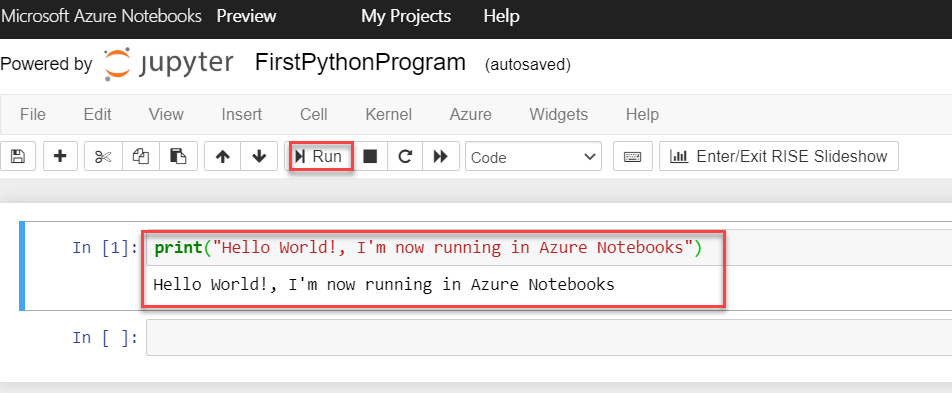
Write and run your python code in Azure Notebooks
- If you’re in your newly created notebook already, you’d notice that it gives exactly the same jupyter experience you’d have in a local installation.
- Let’s start with good old “Hello World”. I’d simply print a hello world message and run to execute this in the free compute provided by Azure.
print("Hello World!, I'm now running in Azure Notebooks")